In the Beginning, the Egg
I love eggs. I grew up in a small town in northern Ohio. Summers were spent at a lake surrounded by farms in northern Indiana. The farms of my childhood were all small and family-owned. There was usually a coop where the chickens spent the night. But in the daytime the chickens had the run of the farm: barns, pasture, garden, and yards. These were “scratch hens”: birds that scratched around in the dirt and grass for food. They were fed some grain but spent their days running around the farm scratching and pecking bugs, grains, and grass.
Collecting the eggs was a daily hunt. Some eggs were laid in the coop (those were the easy ones to find). Others might be found in the hay loft, or in the straw pile near the animal stalls. The ones that weren’t found in time might become the next batch of chicks.
For me, the “town kid,” the task of gathering eggs was a lot of fun. I remember the feeling of holding a warm, newly laid egg in my hand. Even now, many years later, I can still feel the wonder of being so connected to life that I experienced as I collected and cradled those eggs. I can still smell the coop and barnyard as I type these words.
Time passed I grew up and moved away from my small town. I went away to school, traveled, and got a job in the city. Many years went by in which all that was available to me were standard supermarket eggs. But my desire for farm eggs never waned. Because there really is a difference in taste and cooking quality in fresh, scratch hen eggs.
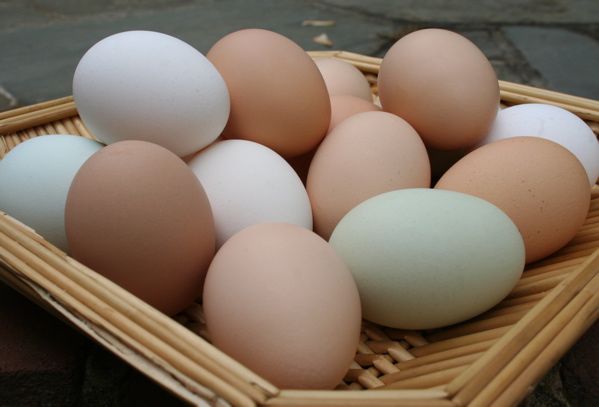
Happily, today I can buy delicious farm eggs from several farmers markets in my area. I urge everyone to search out local sources for quality eggs. Chicken eggs come in many colors: white, brown, green, or blue. The color of an egg has no affect on it’s flavor; what the chicken eats is what affects the flavor of the egg. Hens allowed to roam and forage eat a variety of things, from greens to grubs. This wide-ranging diet produces a richly flavored egg.
My son has newly mastered the making of French-style omelettes, which are light and fluffy with a soft center. An omelette is a simple and satisfying dish for breakfast, lunch, a light supper, or a quick late-night snack. Here’s a recipe for my son’s current favorite breakfast omelette using the shaken egg method.
Cheddar and Chive Omelette
Serves 1
Ingredients:
1/2 – 1 tablespoon butter
2 eggs (freshest possible)
pinch of salt & of freshly-ground black pepper
2 tablespoons grated cheddar cheese
2 teaspoons snipped fresh chivesDirections:
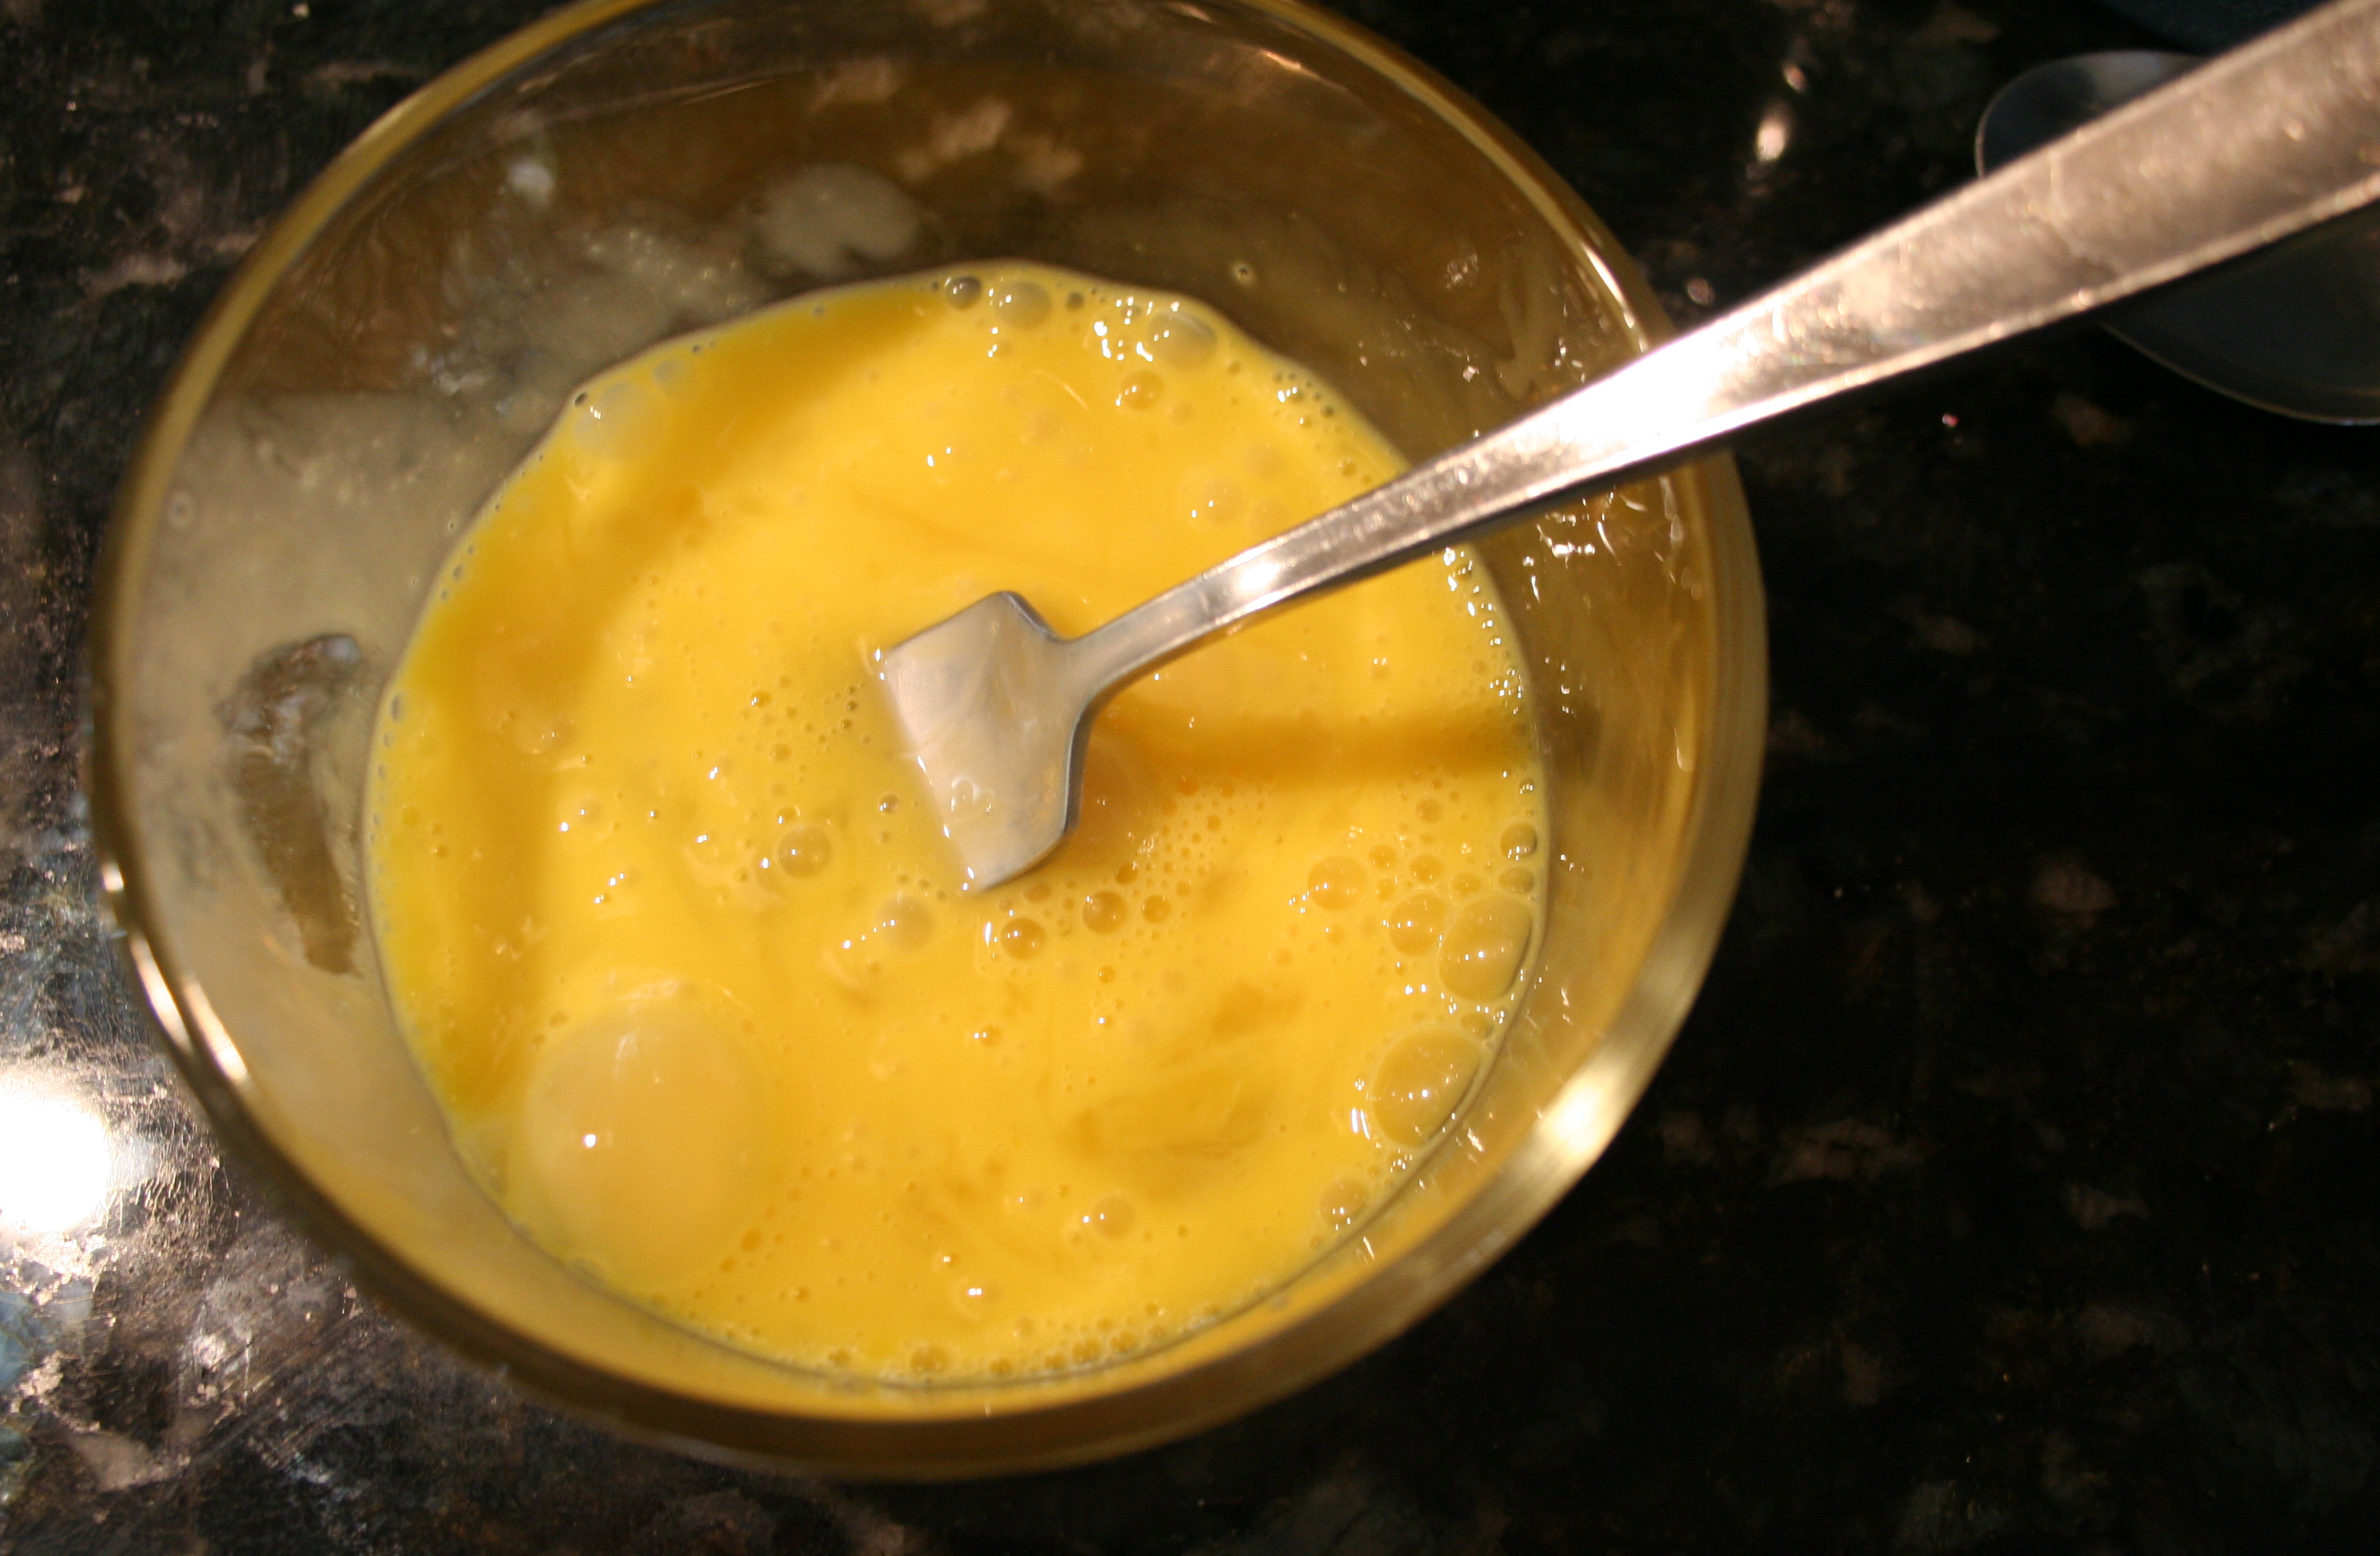
Set the grated cheese and snipped chives aside. Break the eggs into a small bowl. Whip them lightly with a fork, approximately 30 to 35 strokes, until they are fairly well mixed but not uniform in color. You should see large bubbles on the surface of the mixture. Be careful not to over-beat them or you’ll end up with a flat, not fluffy, omelette.
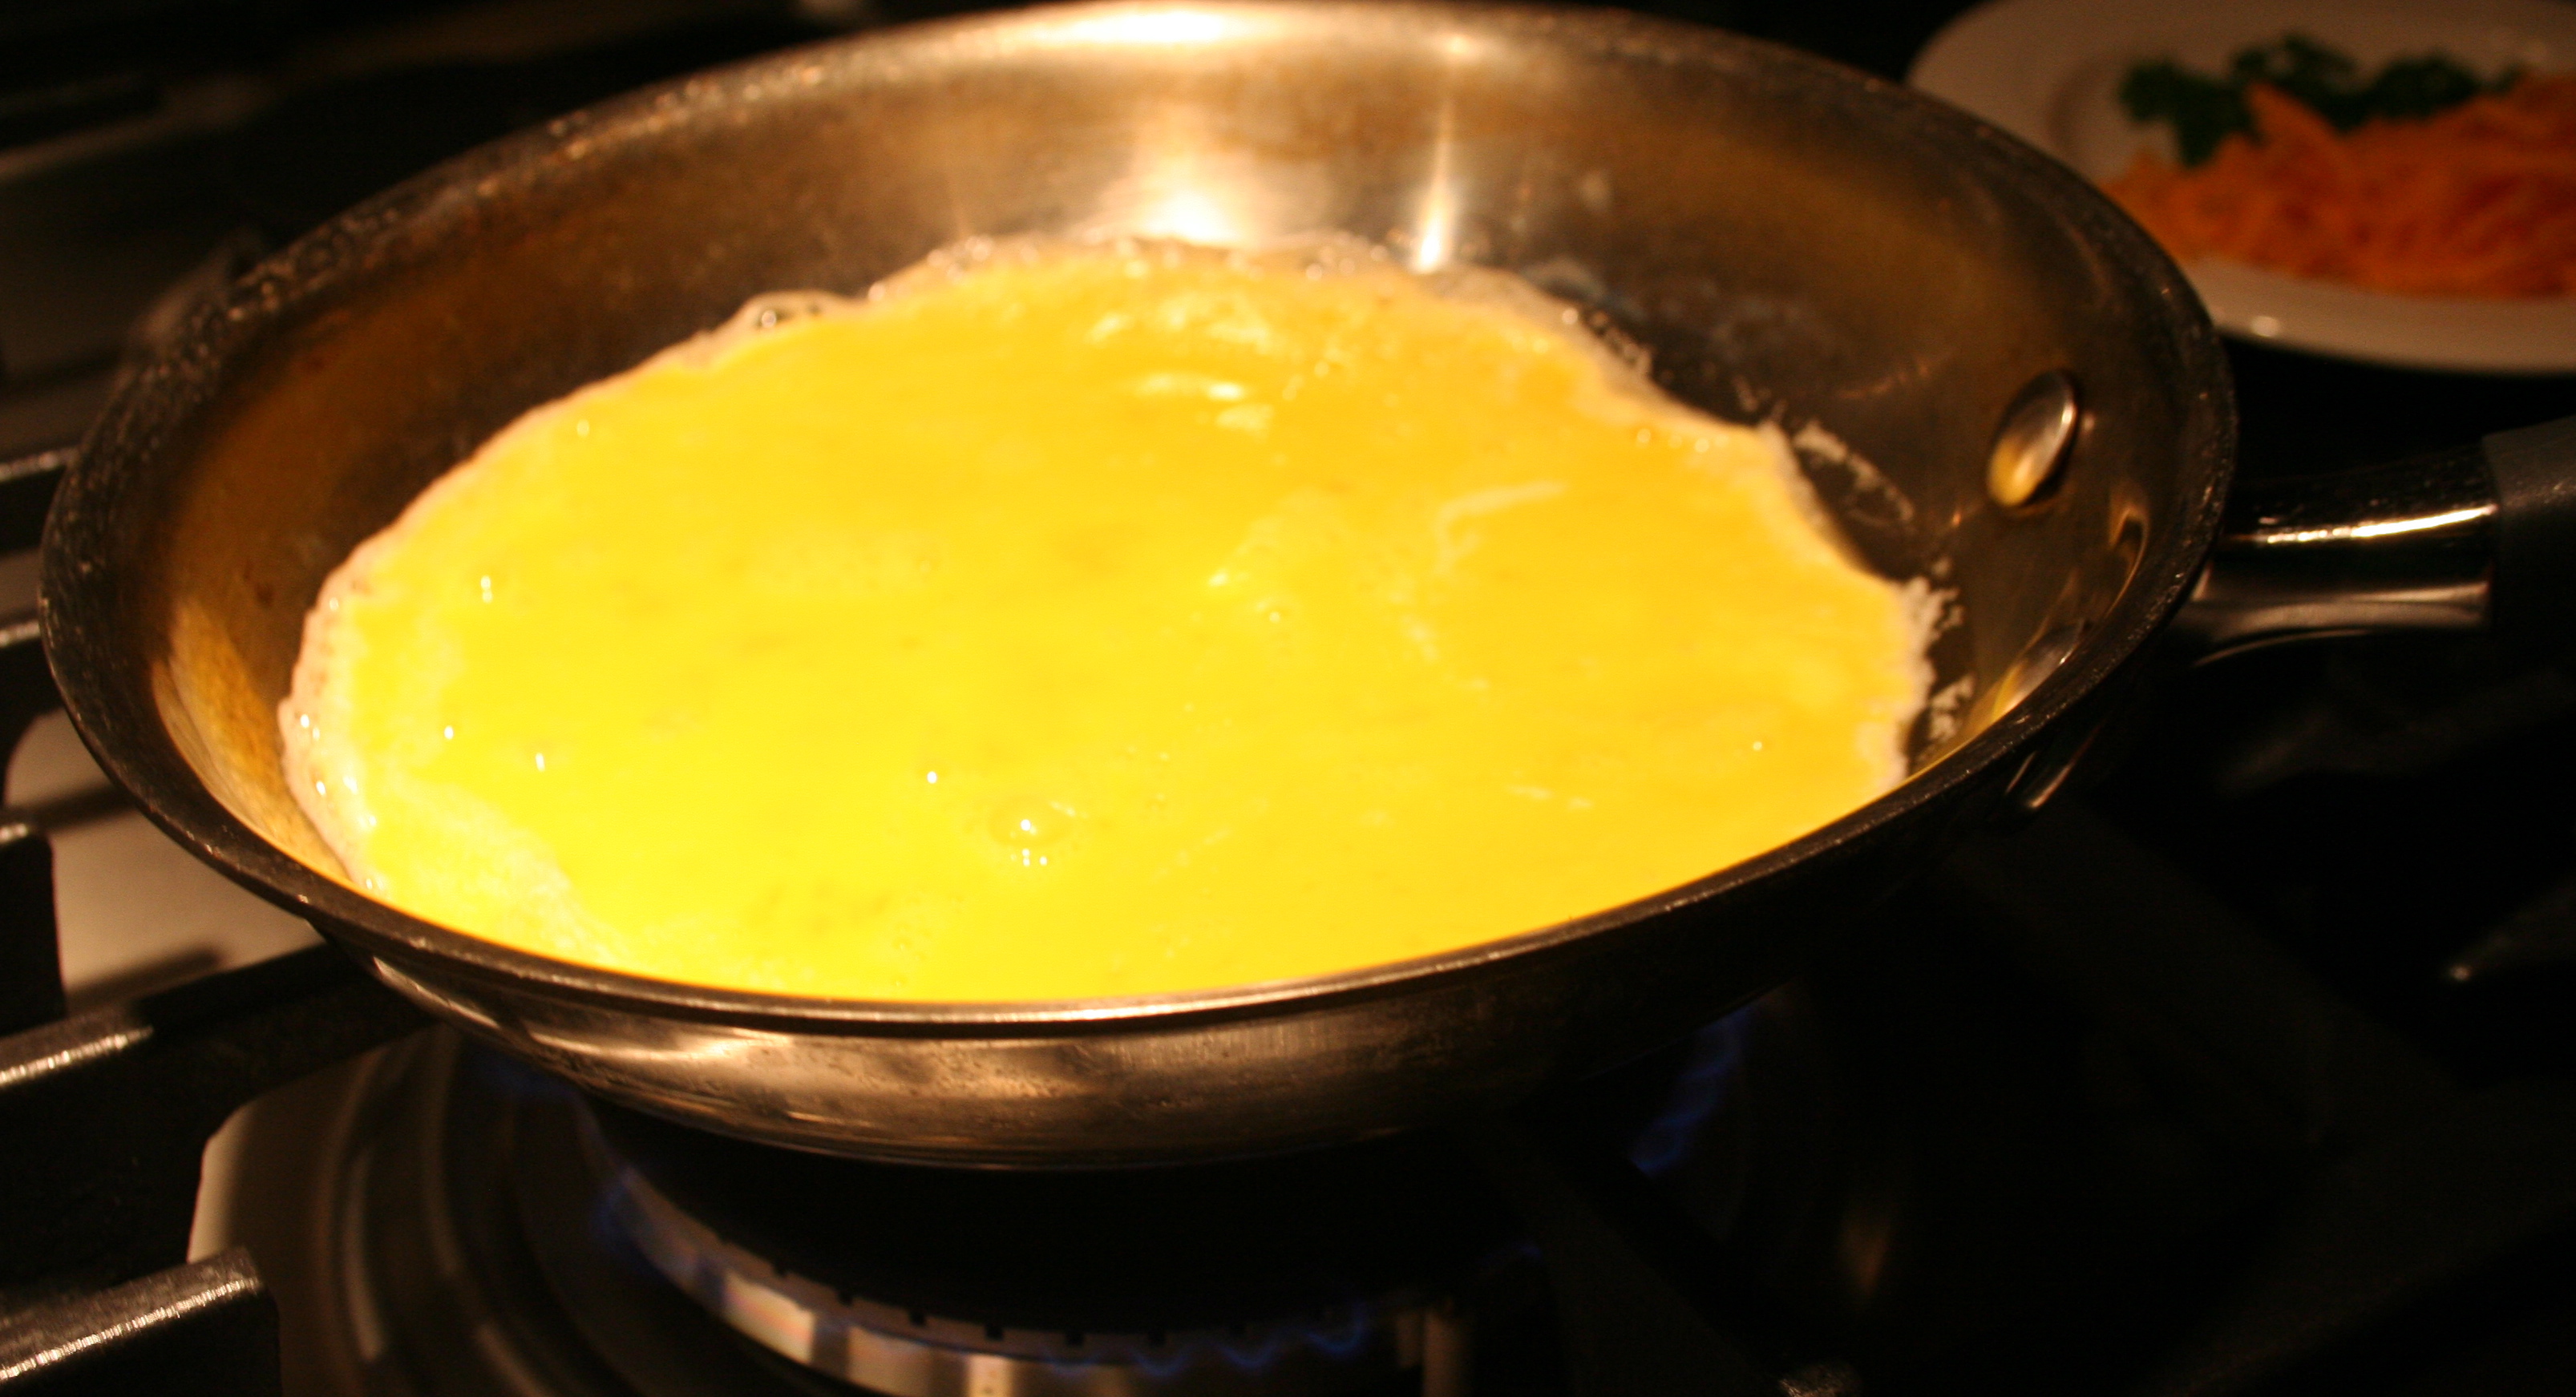
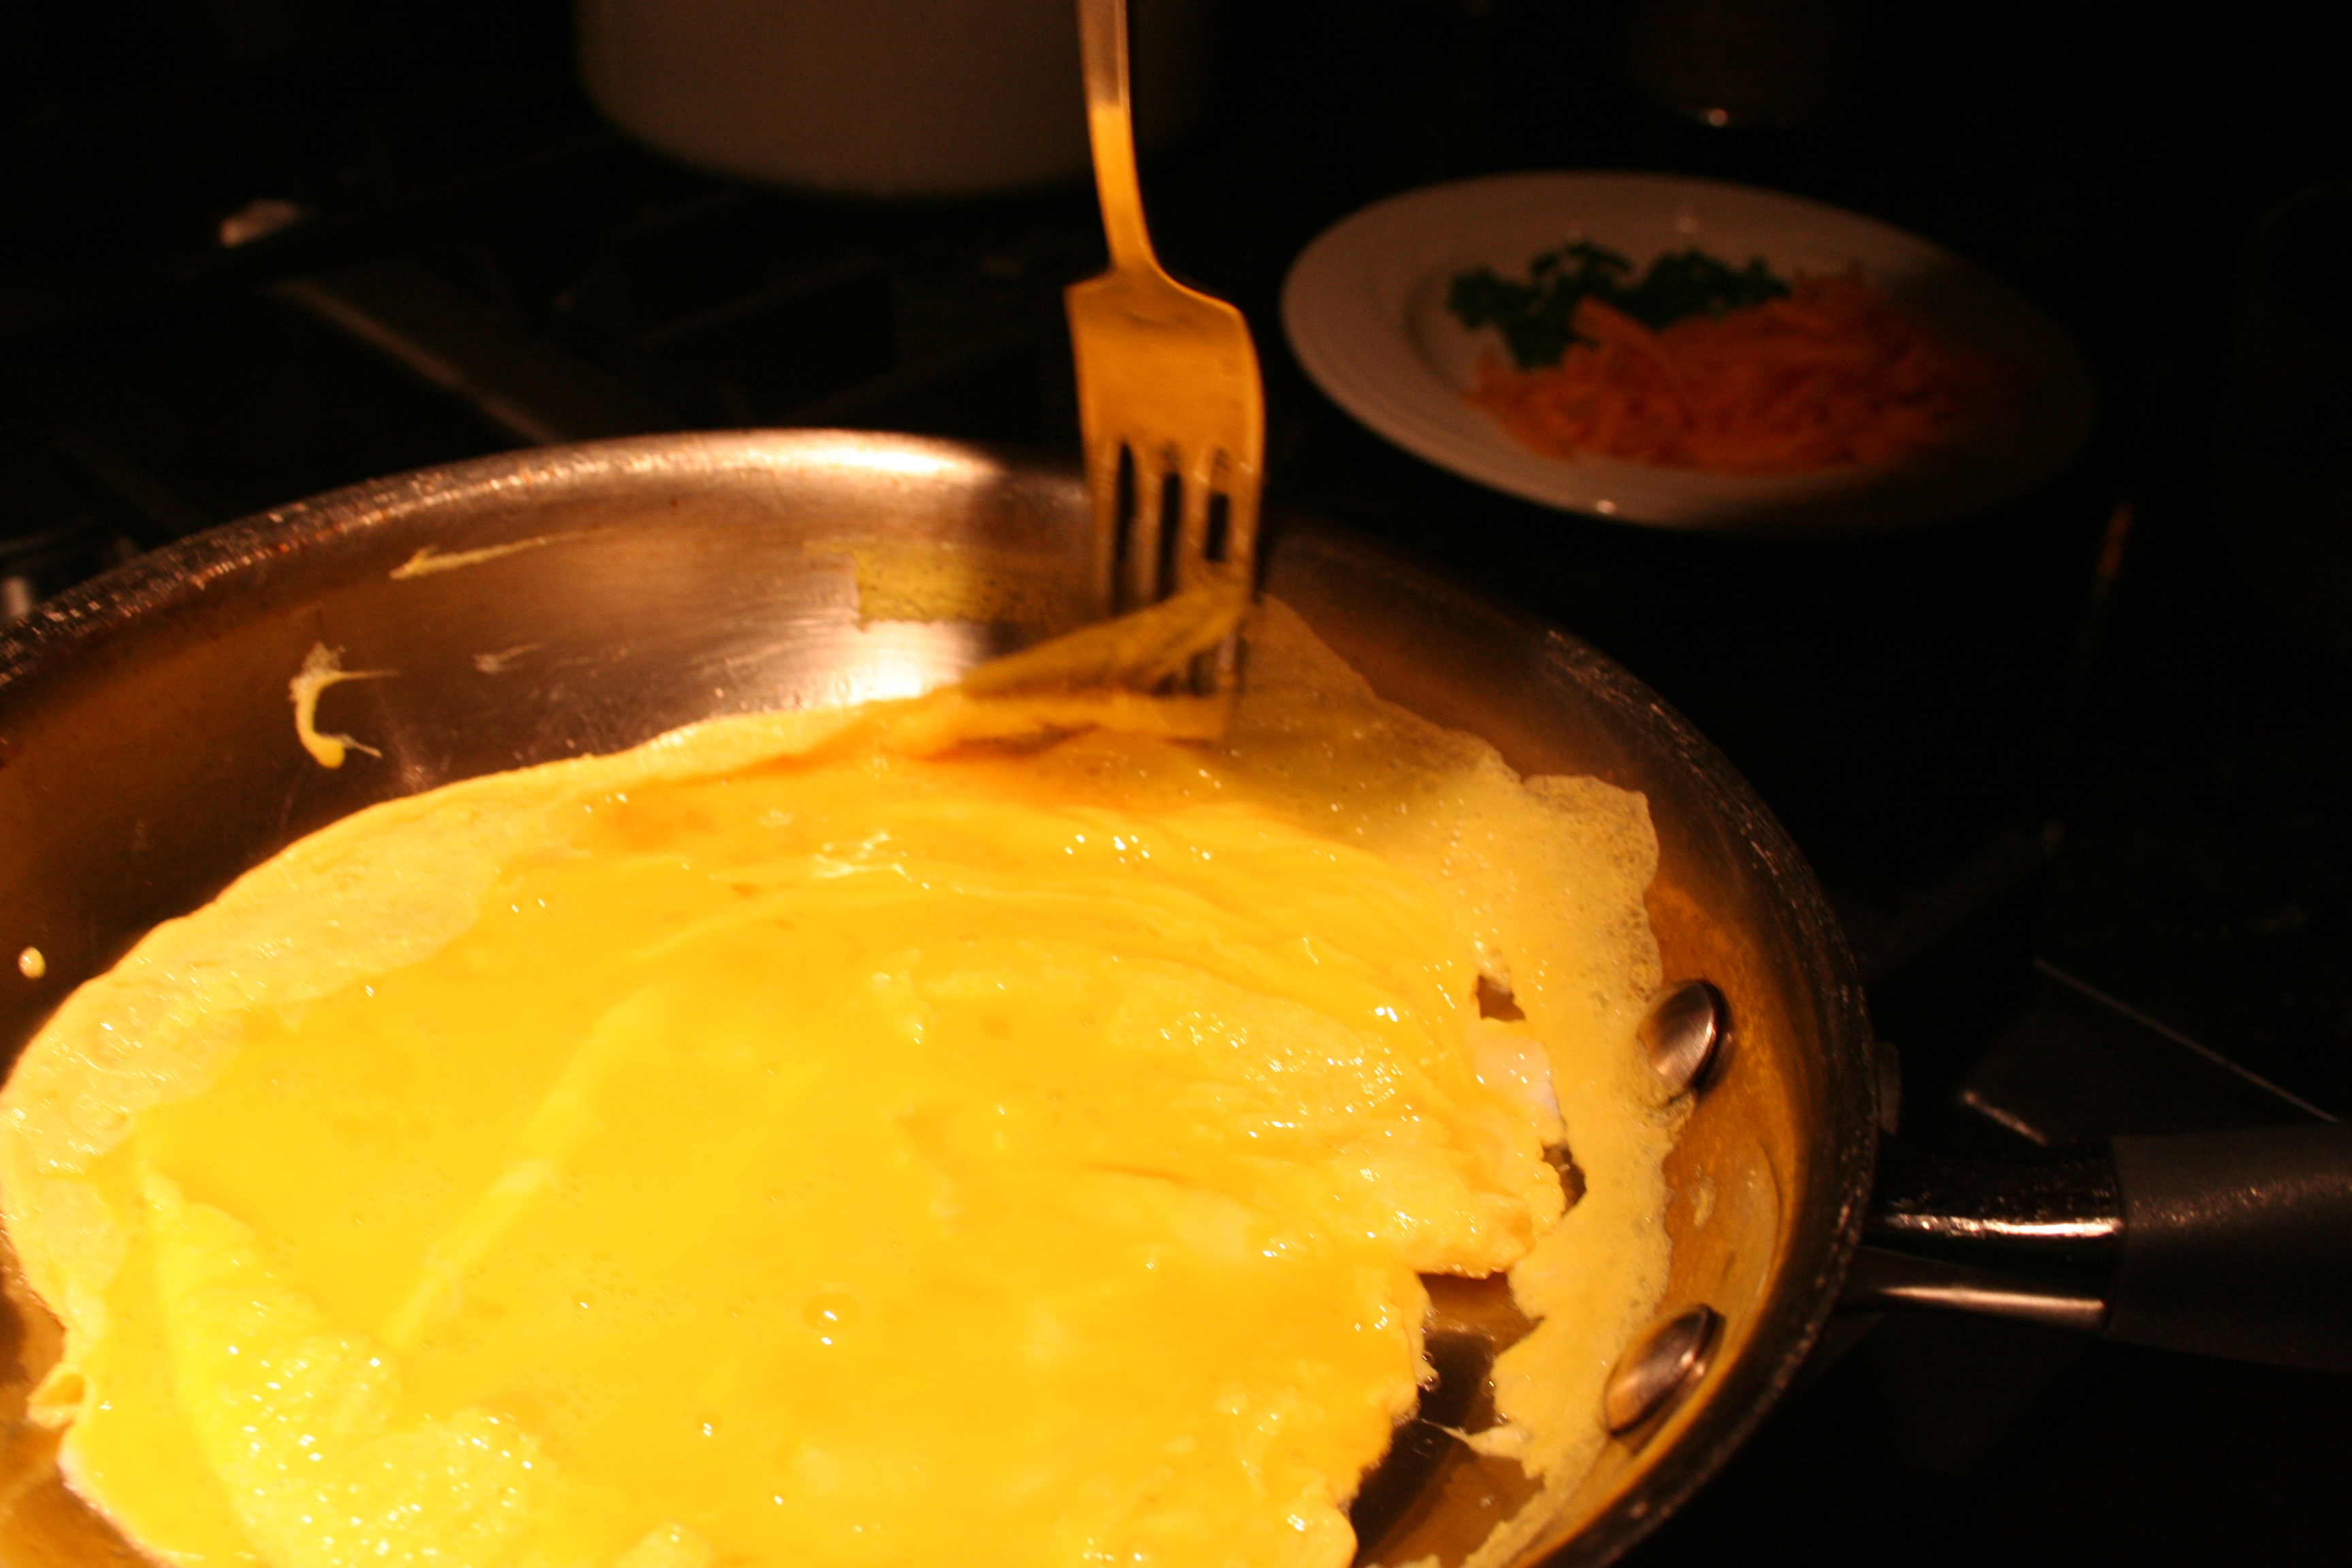
Heat the pan over medium heat. Melt the butter in the pan and tilt it to coat the bottom. When the butter foams the pan is hot enough and ready for the eggs. Add the eggs to the pan. Within a few seconds you should see a ring of puffy, slightly bubbled, cooked egg forming around the edges of the pan (if not, turn up the heat). Count to 5 after you add the eggs to the pan, so a layer of cooked egg can rapidly form on the bottom. Your goal is to have the eggs set rapidly, in large curds. The trick is to have the curds remain soft: that is the result of quick cooking.
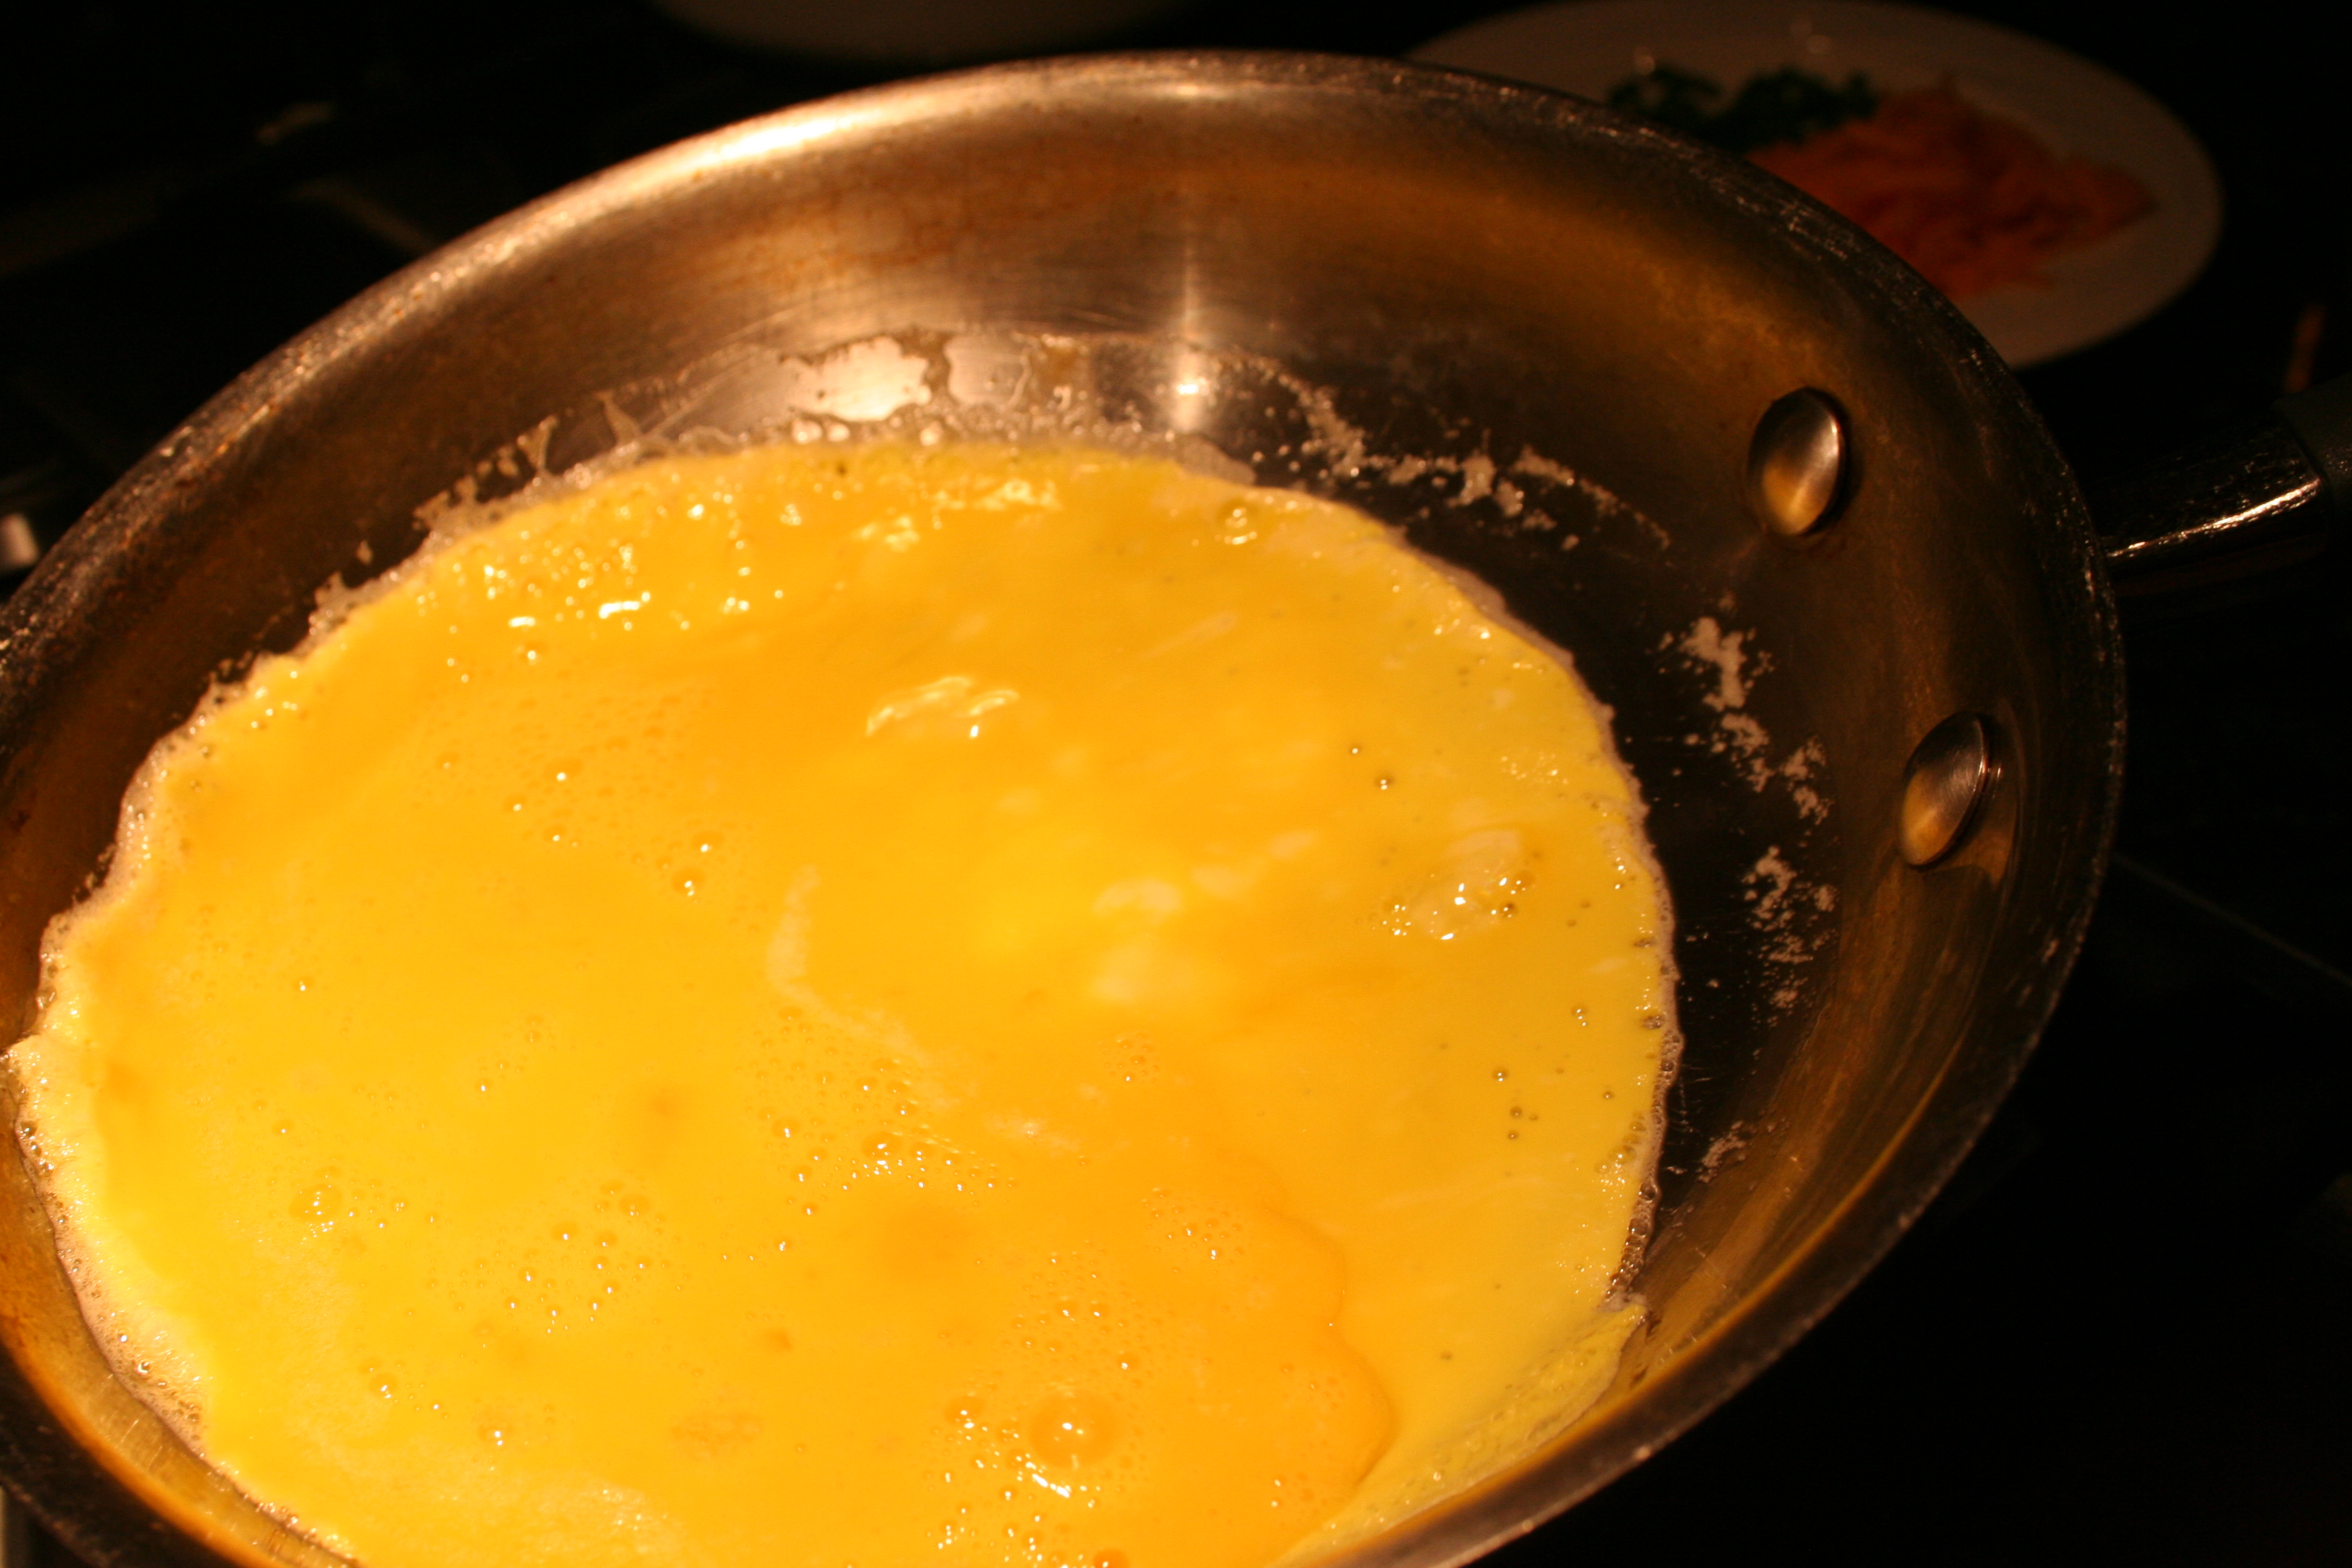
Once the bottom has begun to set, tilt the pan at a 45 degree angle on the burner. Then begin rapidly and fairly forcefully to shake the pan back and forth on the burner. You want the bottom layer of cooked egg to slide out, and the uncooked egg to replace it on the hot cooking surface of the bottom of the pan.
Throughout the cooking process, depending on the surface of your pan, you may need to loosen the edges of the omelette. Do so gently with a fork or spatula around the edge of the omelette, but don’t stir the body of the egg mass. Shortly after you’ve shaken your pan back and forth at a 45 degree angle for several good shakes, the edges and bottom of the omelette will be set. The center of the egg mass, on top, will remain liquid. At this point, begin swirling the pan in a circular motion. Doing so will force the uncooked center to travel out to the edges of the cooked mass.
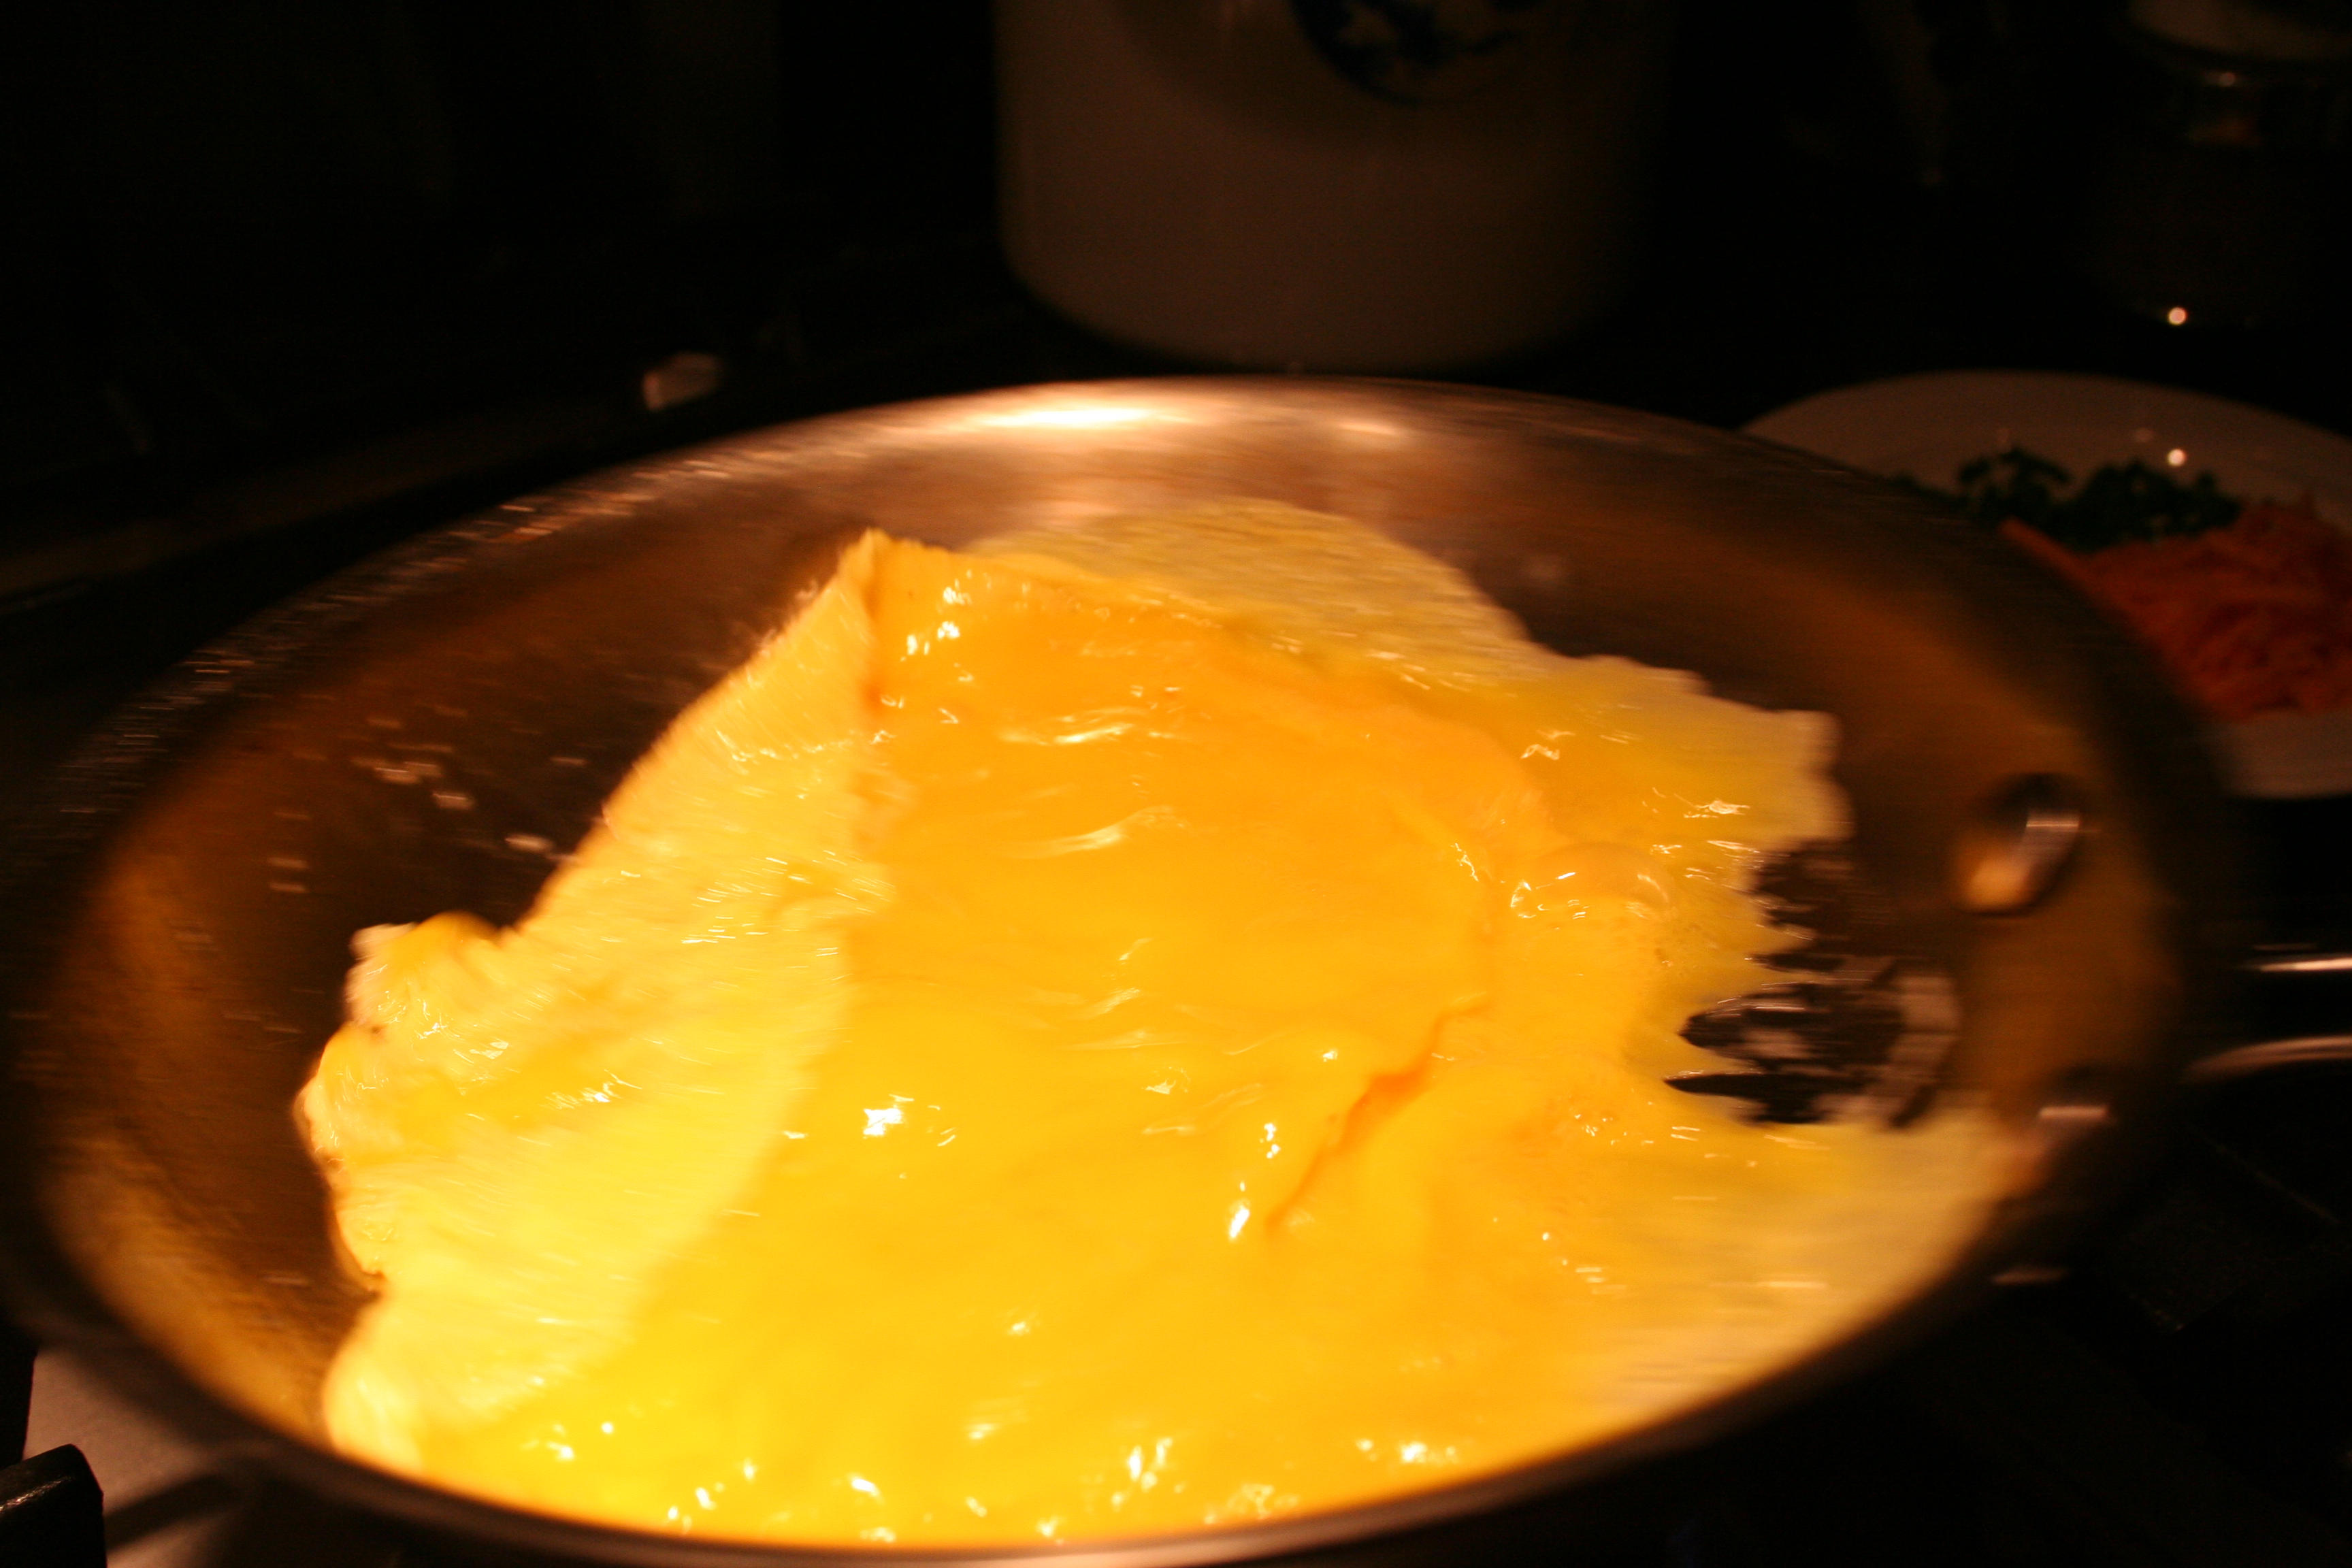
From this point on, continue swirling and shaking your pan as necessary to finish cooking the omelette. The egg will firm into sheets of cooked egg. The top of egg mass will remain a bit loose and not firmly cooked or set. This final shaking and swirling to finish the cooking will take only about 20 seconds.
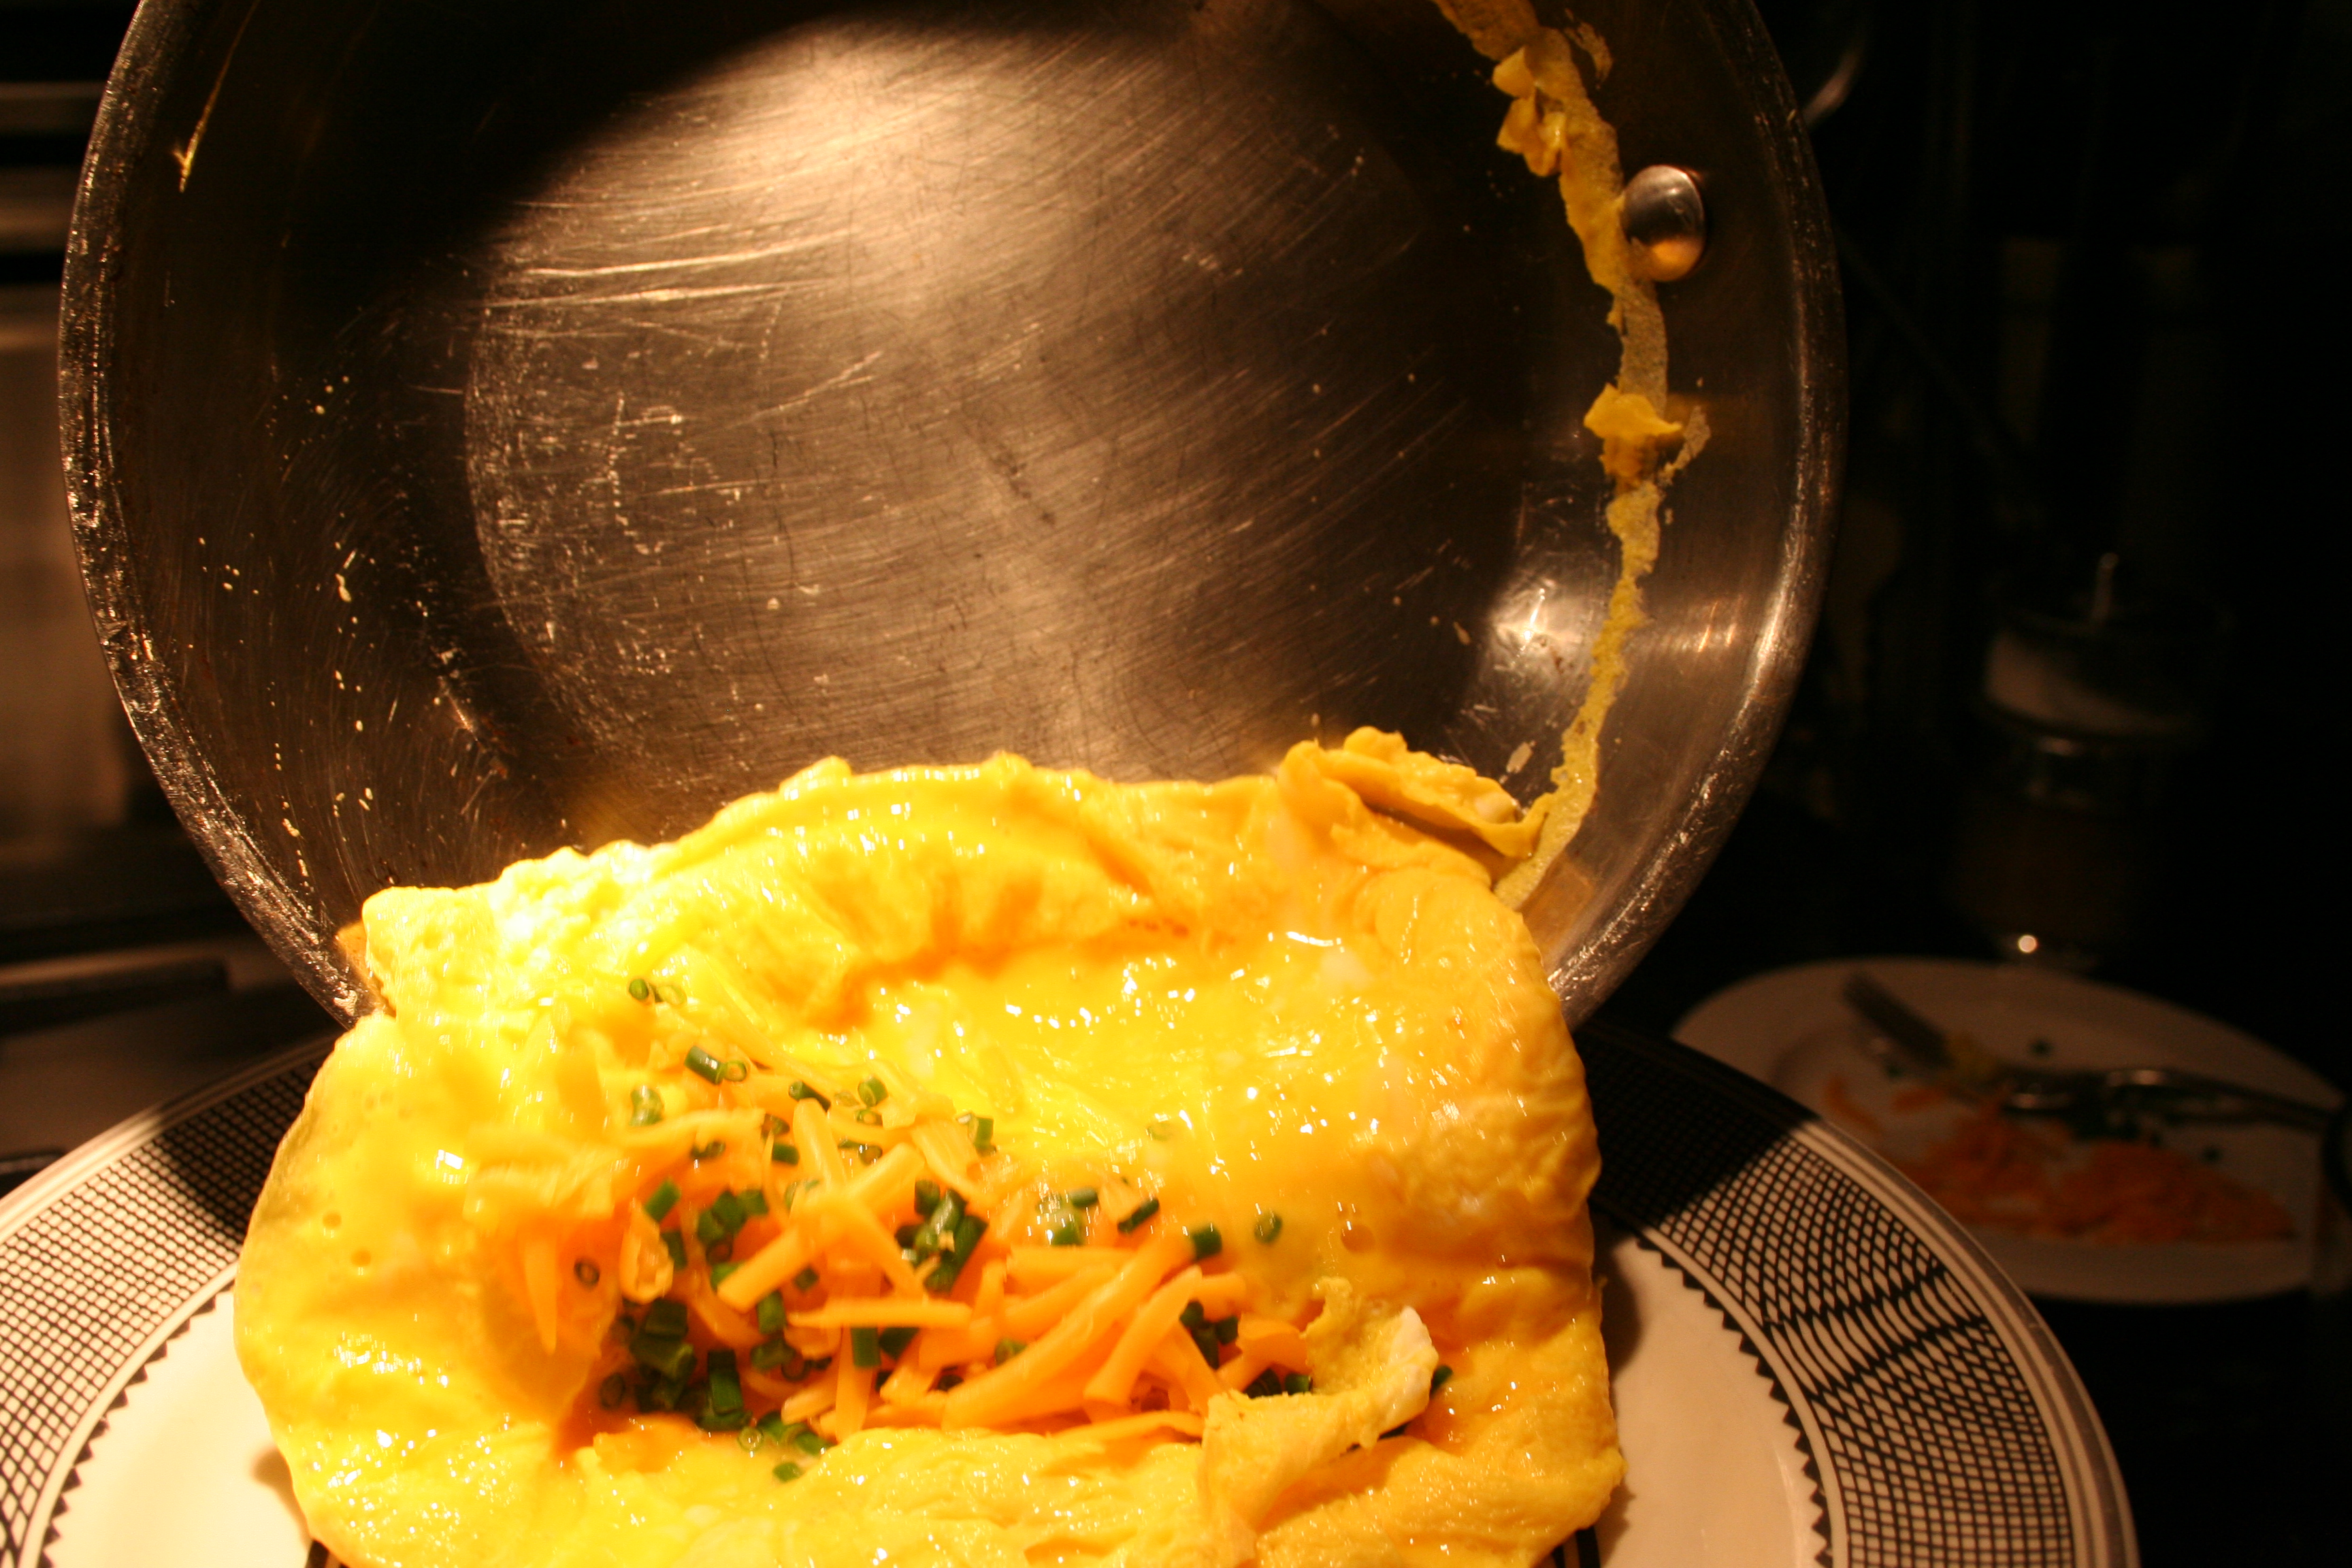
Once the omelette is cooked add your filling quickly. With the handle of the pan on one side, imagine a line down the middle of the omelette. Place your omelette filling, in this case the cheddar cheese and chives, on the half of the omelette across from the handle. Next remove the pan from the stove and hold it over your serving plate. Tilt the pan toward your plate and slide the half of the omelette with the filling onto the plate. Raise the pan even higher and fold the half of the omelette in the pan over the half on the plate. Garnish as appropriate. Serve immediately and enjoy!