Homemade Chicken Stock
A good stock is a wonderful thing. It provides a lovely foundation and a flavorful, savory enrichment for dishes. On its own, properly seasoned, it forms the basis of delicious soups.
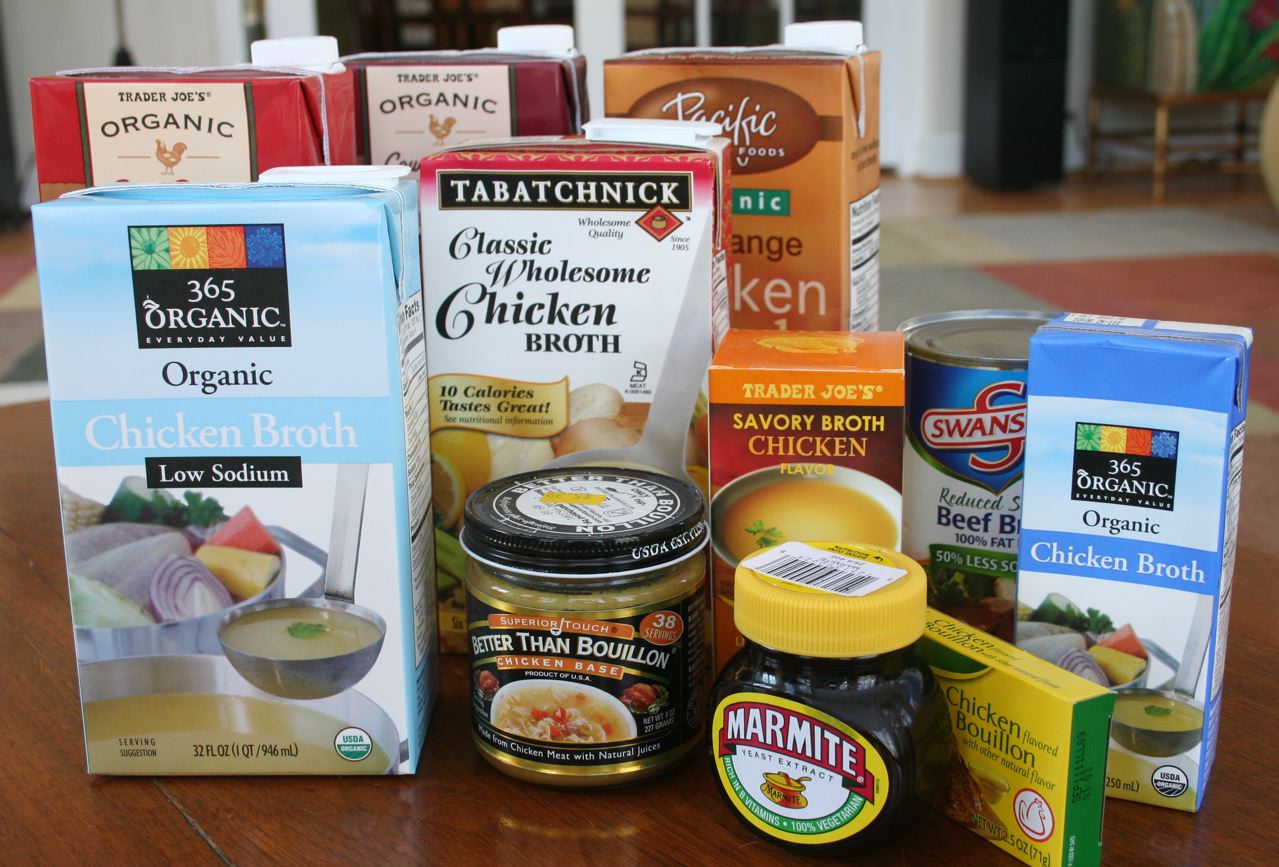
I use a lot of stock in my cooking and, whenever possible, I always like to have some homemade stock on hand. I make a large pot of it periodically, reduce it, and store it in either the fridge or freezer. I often use chicken stock as a basis or enhancement of my cooking whether I am making a dish of grains, vegetables, chicken, turkey, beef, or even fish. I do collect uncooked chicken parts, such as wing tips, necks, giblets, and the frames of cooked birds in my freezer for stock making. Once I’ve collected a sufficient amount I can use this frozen stash to produce a quick stock; a big benefit is that I don’t need to go shopping to do so. However, that stock is not as good a quality stock as this dedicated chicken stock made from meaty whole chickens or chicken pieces.

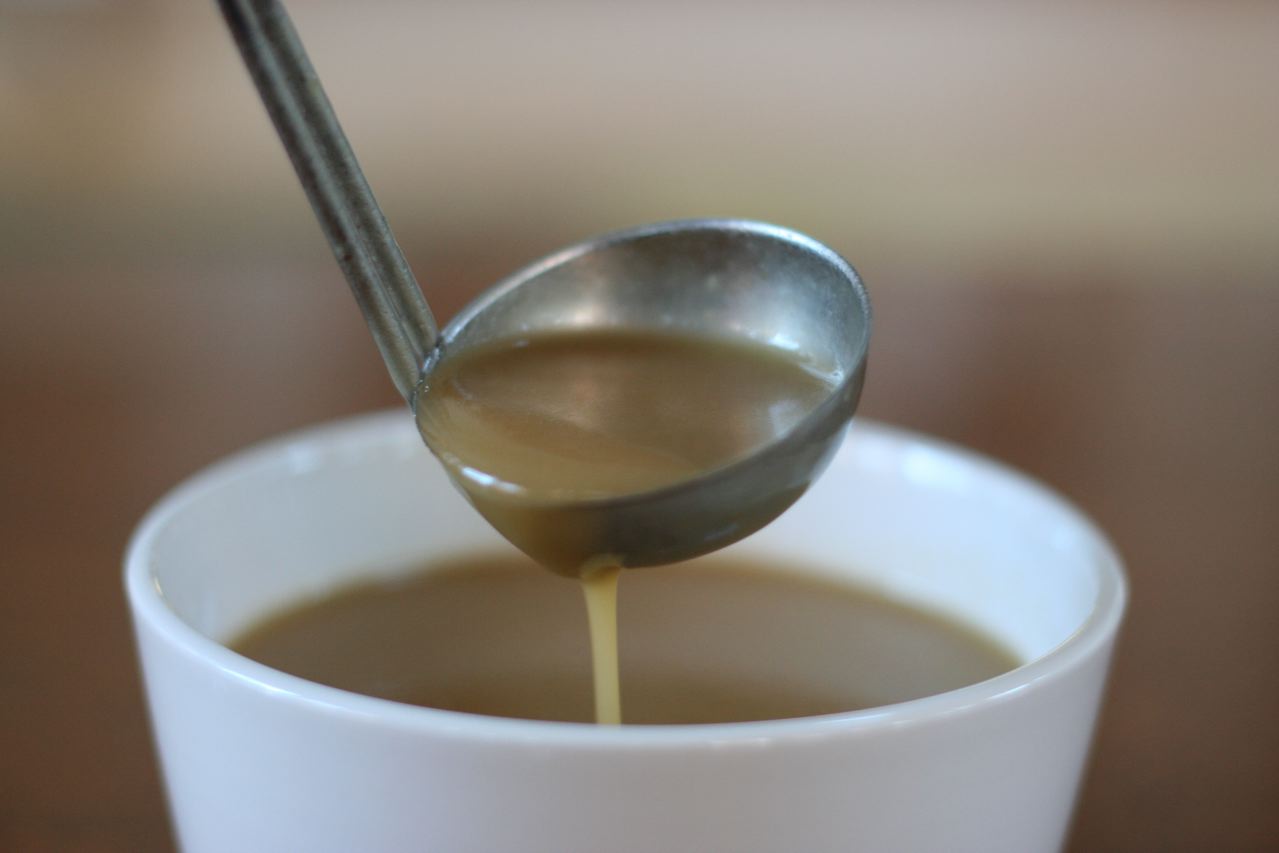
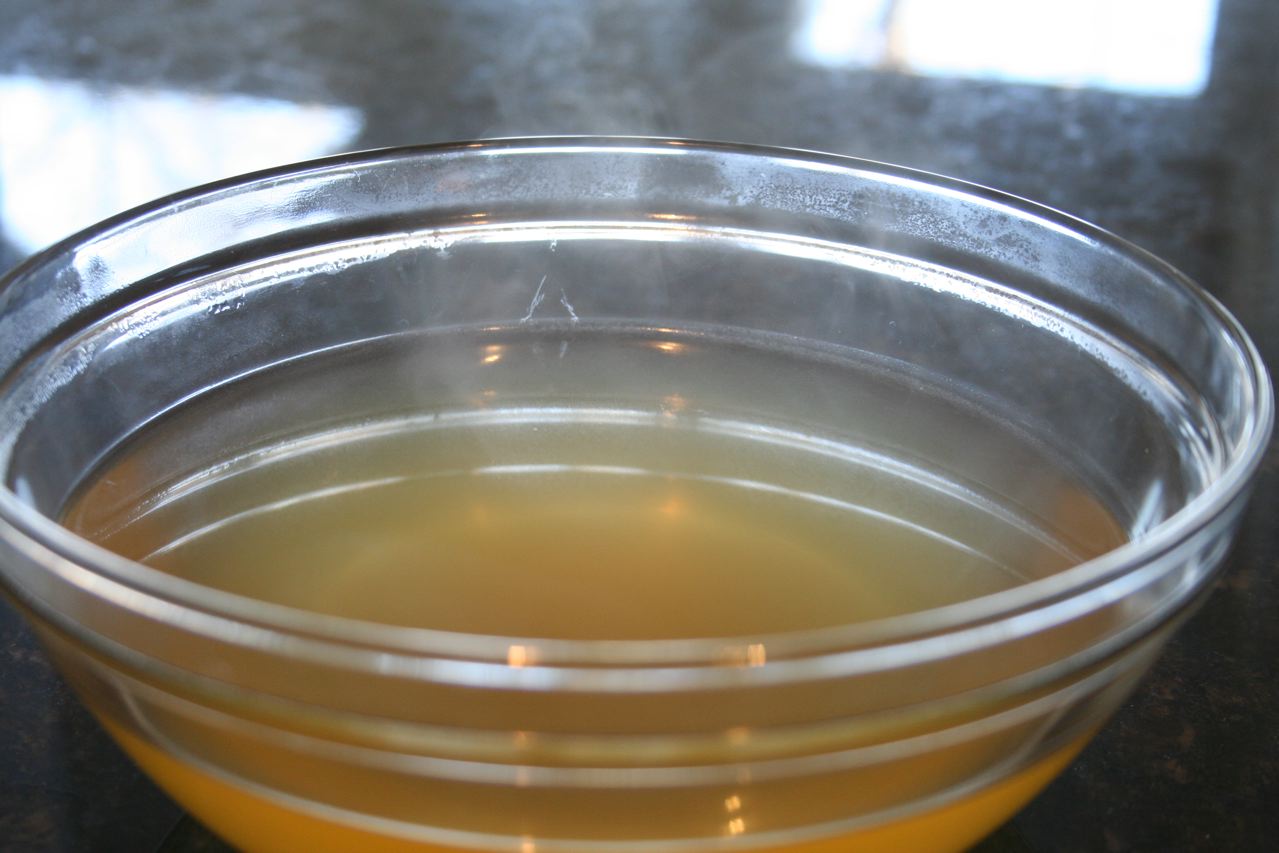
Homemade stock will provide a multi-dimensional foundation of texture, taste, and smell for your cooking. A good stock will be gelatinous, like jello, when chilled. The gelatin is produced by melting collagen, a connective tissue that surrounds the muscle fibers of meats, during the stock cooking process. This gelatin will contribute to the roundness of texture of your finished product. This quality of a good stock will be particularly evident when you are making sauces, gravies, or stews. Additionally, a good stock will provide enriching flavors that have been released into the liquid from the vegetables and meats as they break down during the cooking process. A third dimension provided by a good, homemade stock are the aromas perceived by your nose as the stock simmers and in your finished dishes.
Basic Chicken Stock
Makes 8-10 cups
Ingredients:
5 1/2-6 pounds chicken from whole chicken or dark meat, with extra wings, necks and giblets as needed, but no livers*
1 large carrot, peeled and cut into chunks
1 stalk celery, cut into chunks
1 medium sized yellow onion, peeled and quartered
1 large leek, white and green parts, washed and trimmed, cut into chunks
3 parsley sprigs or 5 stems
2 Turkish or 1 California bay leaf
2 whole cloves
1 teaspoon saltDirections:
Ideally, make the stock in a tall, narrow, 8-10 quart stock pot. If you don’t have such a pot, and must use a wider one to make the stock, add water during the cooking process in order to keep the bones covered.
If the chicken meat is bloody, soak it in cold water for 20 minutes. Drain and rinse. This is to prevent any blood from clouding your stock.
Place the meat in the stock pot and cover it with cold water. You want to cover the meats, not submerge them deeply with water. Too much water will result in a stock that is thin in flavor and texture. Bring the water to a boil and then immediately reduce it to a simmer. A foam will rise to the surface of the liquid. Remove it using a large sauce spoon or a fine strainer. Poke at the meats and stir them a bit in order to release any additional foam that might be trapped in the pot. Skim this foam off as well. Add the vegetables, herbs, cloves, and salt. Push them into the liquid if need be in order to add them to the simmering liquid.
Return the stock to a gentle simmer. You should see a single bubble or two breaking the surface of the liquid. Cooking the stock at a higher temperature will result in a cloudy stock. When a stock is cooked at a boil the fat melting off of the meat will emulsify into the stock. Additionally, the meats will begin to fall apart and small fragments will be distributed throughout the stock by the rolling movement of the boiling liquid. For the same reason, do not stir or skim the stock while it simmers, and do not cover the simmering stock .
Taste your stock as it simmers. In the beginning, it will taste thin and watery. As it continues to simmer, the flavors will expand and develop. When it reaches a distinct, rich chicken flavor it is done. This will take about 4 hours.
Turn off the heat to allow the simmering to stop. Let it rest for 5-10 minutes. Next you need to strain your stock. If you’re strong enough, place a large strainer or colander over a bowl or other container large enough to hold the strained stock and pour your stock through the strainer into the new container. I’m not that strong, so I ladle some of the stock out of the pot and then lift the large pieces of meat and vegetables out of the stock and into the colander I’ve set up over a bowl in the sink. I allow the meats and vegetables to drain and then discard them.** After I’ve removed the majority of the contents of the stock pot, I pour the remaining stock through the colander. Next I pour the stock through a fine strainer in order to remove even more impurities. If you want to use the stock for a clear soup you may want to pass it through cheesecloth or a clean dishtowel.
Cool the stock rapidly. Bacteria grow most quickly between 40-140 degrees Fahrenheit. Ladle the hot, strained stock into several quart or pint sized containers in order to allow it to cool more quickly. In order to cool a large pot or bowl of stock, create an ice water bath in your sink. Place cold water, ice, and salt in the sink. Put a couple bricks or pieces of wood on the bottom of the sink. Place the pot of stock in your sink and have it surrounded by the cold water. Place the pot in the sink and stir the stock to cool it. Once the stock is cool, place it covered in your refrigerator.
When you’re ready to use or reduce the stock, remove the layer of fat that has congealed on the top of the stock. Do not remove the fat in advance; it will seal out air and help keep the stock fresh.
I usually keep 2-3 pint-sized containers of stock in my fridge for use within 4-5 days. The rest of the stock I de-fat and reduce to about 1/2 volume before freezing it. In order to have small amounts of stock ready for use to deglaze a pan or add a boost to a dish, you may find freezing stock in ice cube trays helpful. Once the stock has frozen, remove it from the trays and store the cubes in plastic bags for later use. I boil up any stock that has been sitting in my fridge every 5 days or so in order to preserve it. If your stock begins to liquify it is beginning to turn and is on its way to spoiling. If ever bubbles appear in your stored stock throw it out; it has spoiled.
Either defrost frozen stock in the fridge and then bring it to a boil before using or remove the stock from the freezer, heat the container in warm water to loosen the frozen stock, and then place the stock in the microwave or a pot on the stove. Next, thaw the stock and finally bring it to a boil before you use it.
*The white meat of chicken doesn’t add mcuh flavor to stock. Therefore, you might want to remove the breasts from whole chickens before you add them to the stock pot. To remove the breast meat, feel for the sternum or breastbone and cut down along it lengthwise in order to loosen the meat. Next, with a knife or your fingers, move along the rib cage of the chicken, loosening the meat, and then remove the breast meat from the boney carcass. Reserve the breast meat for another recipe.
Never add livers to your stock. They will break down and muddy your stock. Save them for another use.
**The meat used to make stock still smells inviting, but has rendered most of it’s flavor to the stock. I clean the meat off of the bones and give it to our dog. She’s very happy!