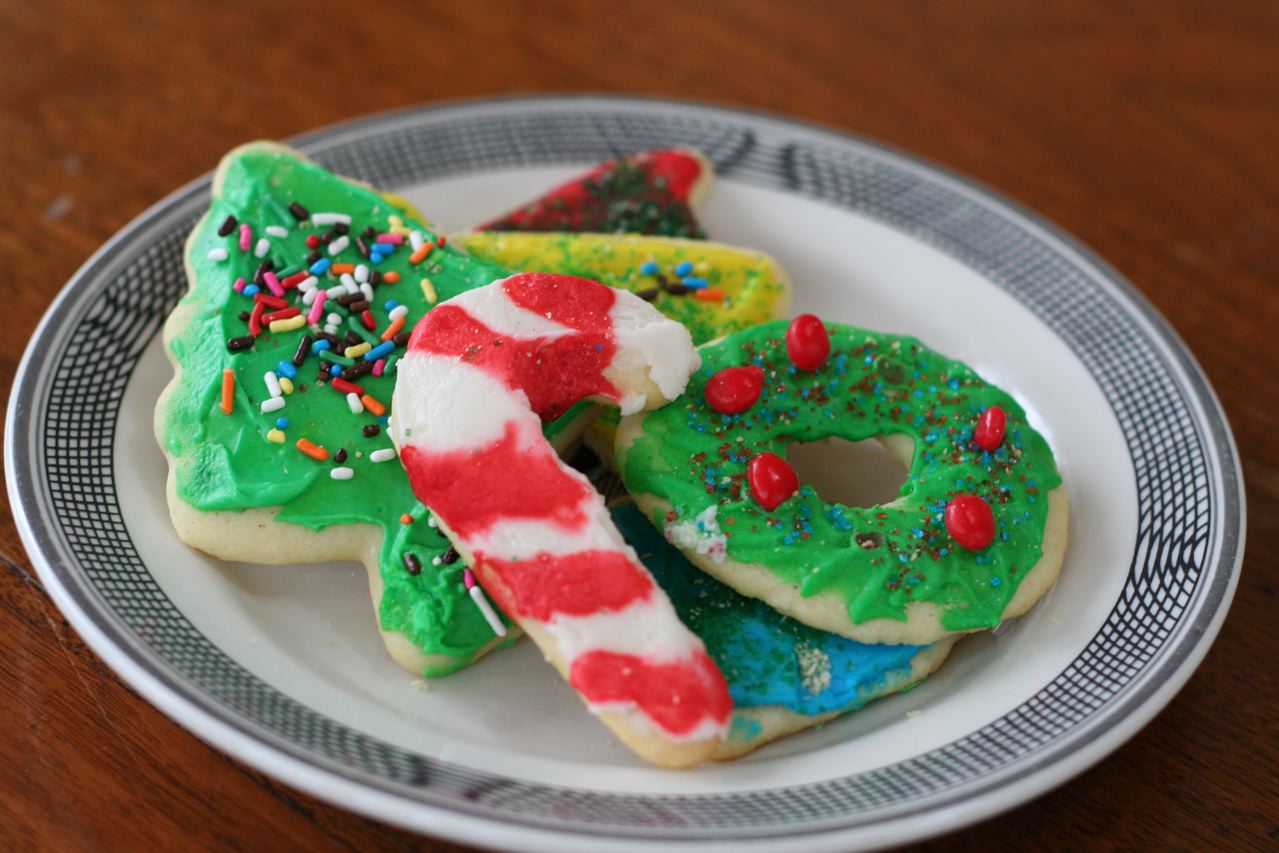
Cut-Out Christmas Cookies
Growing up, my family made only one kind of cookie at Christmas time: cut-out Christmas cookies. MM and I continue the tradition today. This year, by the time we’re done, we’ll have made five batches to eat and give away. Our list of friends and family with whom we share these cookies seems to grow every year!
Cut-out cookies take a lot more time to make than drop cookies. Usually when I make these cookies it’s a three day process. On day one I make the dough; then I put it in the fridge overnight to chill it completely, so it’s firm enough for to roll. However, I have also put the fresh dough in the freezer to speed up the chilling process. When I do, I make the dough in the morning and then put it in the freezer, so I can roll it out later on the same day. I don’t wait until it’s actually frozen but deeply chilled and firm. If I’ve chilled the dough overnight in the fridge, on day two, I roll, cut, and bake the cookies. Then, on day three, I ice and decorate them. Of course, these last two days can be combined into one. If I’m baking by myself this would make for a very long cookie making session, but usually I have MM and friends as helpers. I find my helpers are good to help with the cutting for a tray or two, but once the cookies start coming out of the oven, they’re interested in jumping right into icing and decorating, in order to move directly to eating the cookies!
Nickie’s Cut-Out Christmas Cookies
Ingredients for Cookies:
1 cup softened butter
1 1/2 cups sugar
3 eggs
1 teaspoon vanilla
3 1/2 cups flour
2 teaspoons cream of tartar
1 teaspoon baking soda
1/2 teaspoon saltIngredients for Frosting:
4 cups confectioner’s sugar
1/2 cup butter, softened
1/4 cup milk
1 teaspoon vanillaDirections for Cookies:
Cream the butter and sugar well, on high speed if you’re using an electric mixer, until light in color and very well whipped. Add the vanilla and the eggs one at a time, mixing well after each egg.
Measure your flour and add the cream of tarter, soda, and salt to the flour. Add the flour mixture in 3 batches to the butter/sugar mixture. Mix the flour in at a slower speed. Don’t over-mix the cookie dough once you begin adding the flour, or it will become tough.
Chill the dough, covered, overnight in the refrigerator.
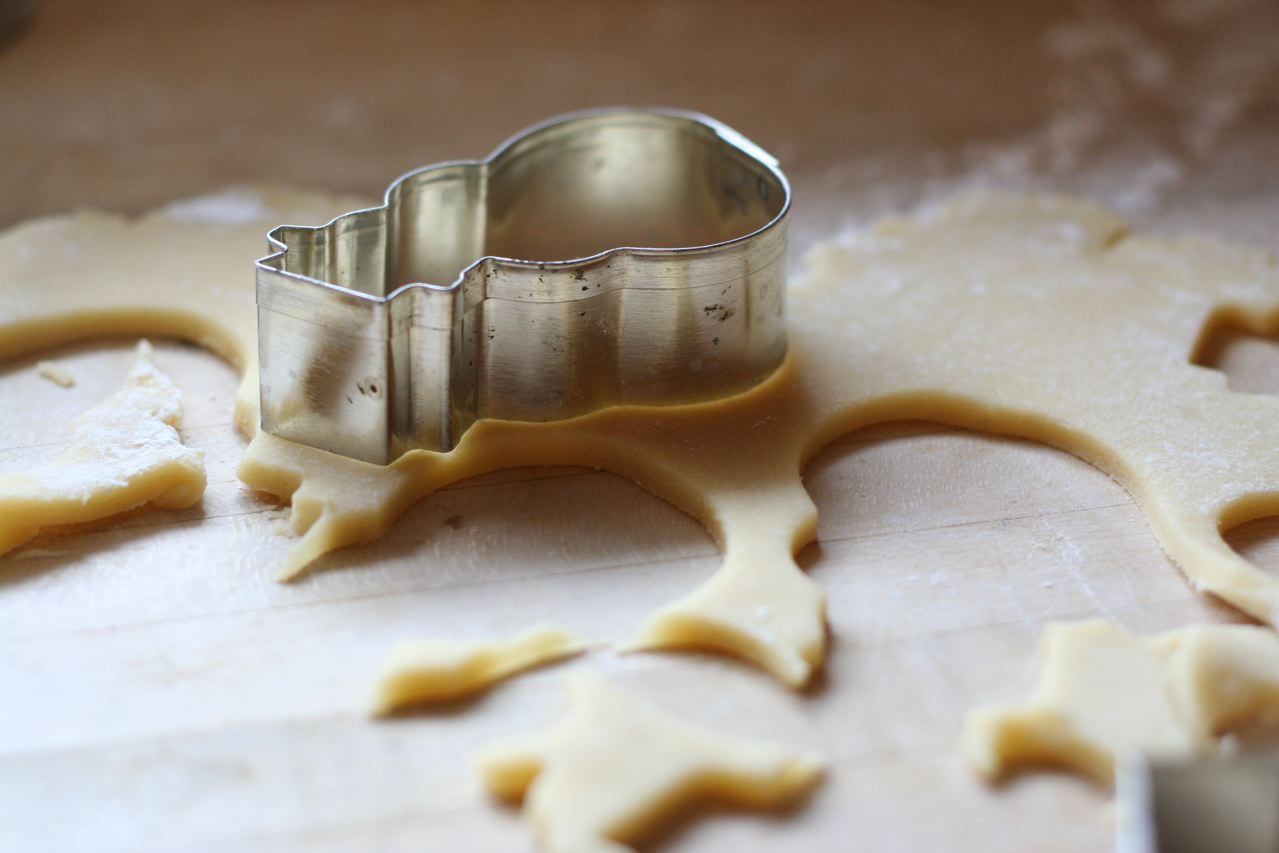
To bake the cookies, preheat your oven to 350 degrees. Lightly flour a clean countertop area. Remove about 1/3 of the cookie dough from the refrigerator and place it on your floured work surface. Leave the remaining dough in the refrigerator until you are ready to use it. Rub flour over the rolling pin and roll the dough approximately 3/8″ thick. As you are rolling out the dough, make sure that it remains loose and not attached to the countertop. (Check that it is not sticking by working a spatula under the dough or move it gently on the counter with your hands). When it does start sticking to the work surface, lightly flour the sticky spot on the dough as well as the work surface. You may need to re-flour the rolling pin as well.
Using cookie cutters, cut out cookies. Cut the shapes very close to each other to get as many cookies cut out of the sheet of rolled dough as possible. Additional rolling of the dough is the same as mixing the dough; the dough and resulting cookies will get tough from over rolling, so, for tender cookies, keep your rolling to a minimum.
Gather the scraps of cookie dough remaining on your work surface together. Layer them in a pile and then press them, lightly, into a round disk. Place the disk in the refrigerator to chill while you work with the remaining dough.
After you have rolled and cut all of the dough one time, roll out the well-chilled disks of dough scraps. You don’t need to press the scraps into a smooth pile. The seams of dough will disappear as you roll out the disc, and you can layer the disks together if they are small. Cut as many shapes as you can out of the scraps.
Place the cut shapes on an un-greased cookie sheet, spacing the cookies 1″ or so apart. Bake for 8-10 minutes. When done, the cookies will be slightly brown around the edges.
Cool the cookies when they come out of the oven on cake racks. Ice with a simple confectioner’s sugar frosting.
Directions for Frosting:
Place all the ingredients in a mixing bowl and mix on high until smooth. You may add more milk if your icing seems too thick, or more sugar if it is not as thick as you would like.
Divide the icing into bowls. Color with the food colorings of your choice. Ice and decorate your cookies.
Leave the iced cookies out in a single layer until the icing is dry on the surface and fairly firm when you press the top of a cookie with your finger. This will take several hours or overnight. Once the icing is sufficiently dry, you can stack the cookies in a pan, one on top of the other. Cover and seal the container well. Allow the cookies to mellow and soften overnight.
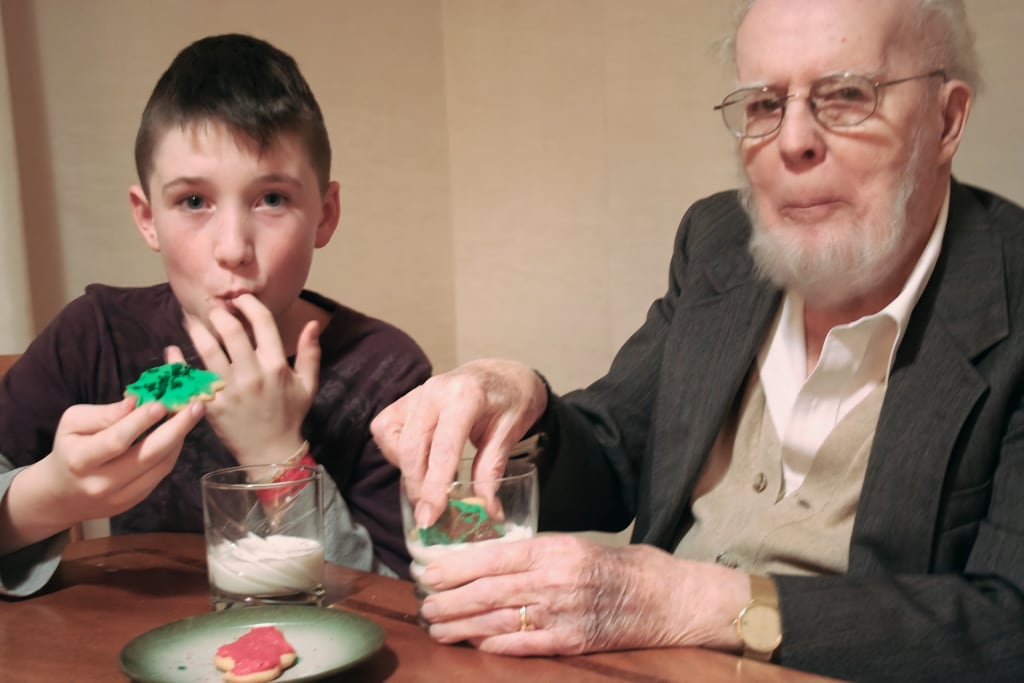
To eat, MM and his grandfather recommend dunking them in milk. Enjoy!
**You can freeze the dough and the cookies at any stage: raw dough, baked, un-iced cookies, iced cookies.